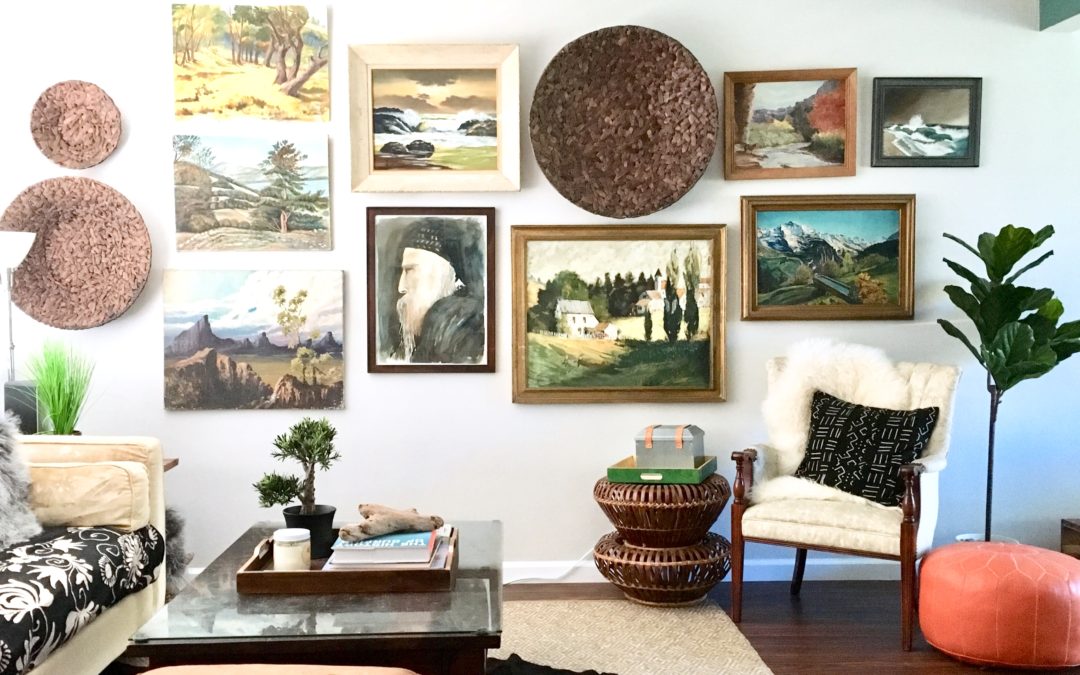
Have you ever wondered how to get an art wall to look so perfect?
Planning, my friend, planning. I am at our Capo Beach Project and thought I would take this opportunity to show you my technique to hang an art wall. Throughout my career in design I have hung many an art wall, all different kinds, but in this video I hang a simple art wall of vintage paintings and show you my techniques to get the art exactly where I want it. Every piece has a different hanging method, so there are multiple techniques to figuring out exactly where to put that nail….or nails. 😉
HOW TO HANG AN ART | GALLERY WALLDo you see art walls all over Pinterest and Instagram and have art wall envy?In this video I'll show you how to plan & hang your art so that things hang exactly where you want them to! There is a bit of a science to it, but it's easier than you thought.This is one of the best ways to liven up a room and show off your collection!Comment below and share a photo of an art wall you are proud of! Tag a friend who has been dying to create a gallery wall for themselves, that friend will thank you!To get the hooks featured in this video:OOK PICTURE HANGERS https://amzn.to/2LNmSipIkea hooks https://www.ikea.com/us/en/catalog/products/90169278/Time Stamp Notes (jump to your favorite part!):26 Lay out the paintings for the art wall on the floor:58 Measure the wall space, then lay a tape measure on the floor with the same measurement1:28 Start with a main piece and build off of that piece on your wall1:39 Determine the height and center of your first painting and mark with a pencil 3:40 With a level, mark where the hook will go and insert the hook in the wall4:44 Adjust the painting using a level5:09 Build the rest of the art wall out from the first painting using similar techniques 8:19 Hang a painting that has no hooks or hangers using OOK hooks9:29 The art wall is done10:30 Outtakes!
Posted by Marilynn Taylor • The Taylored Home on Thursday, July 5, 2018
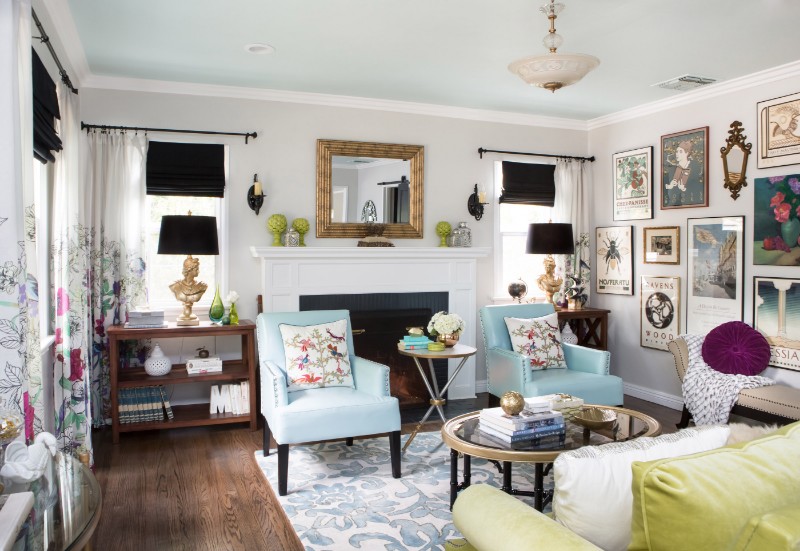
Here are a few of my art walls to inspire you.
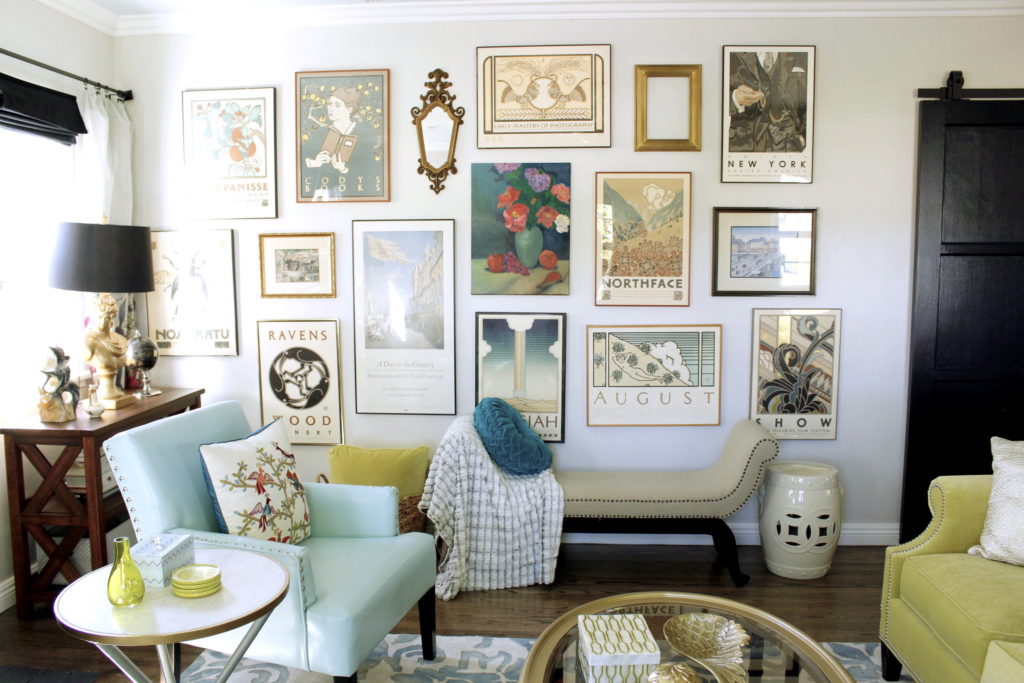
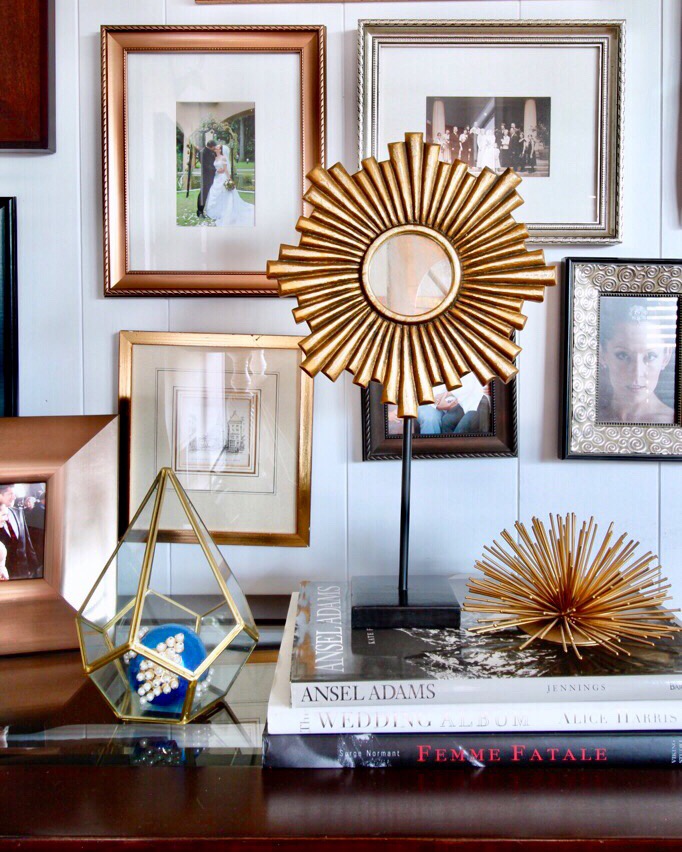
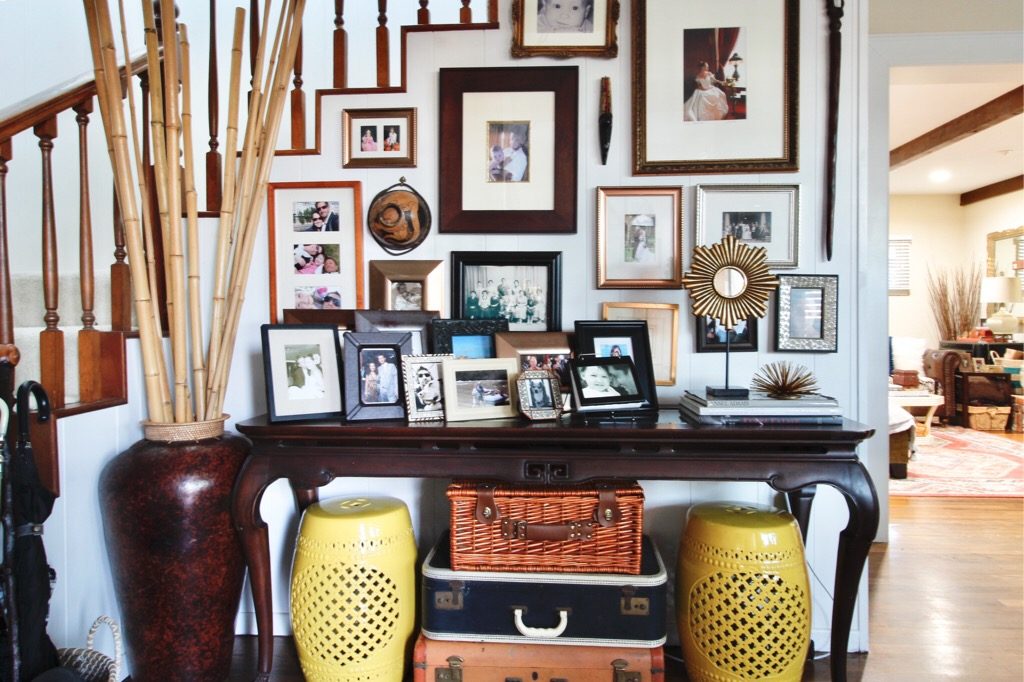
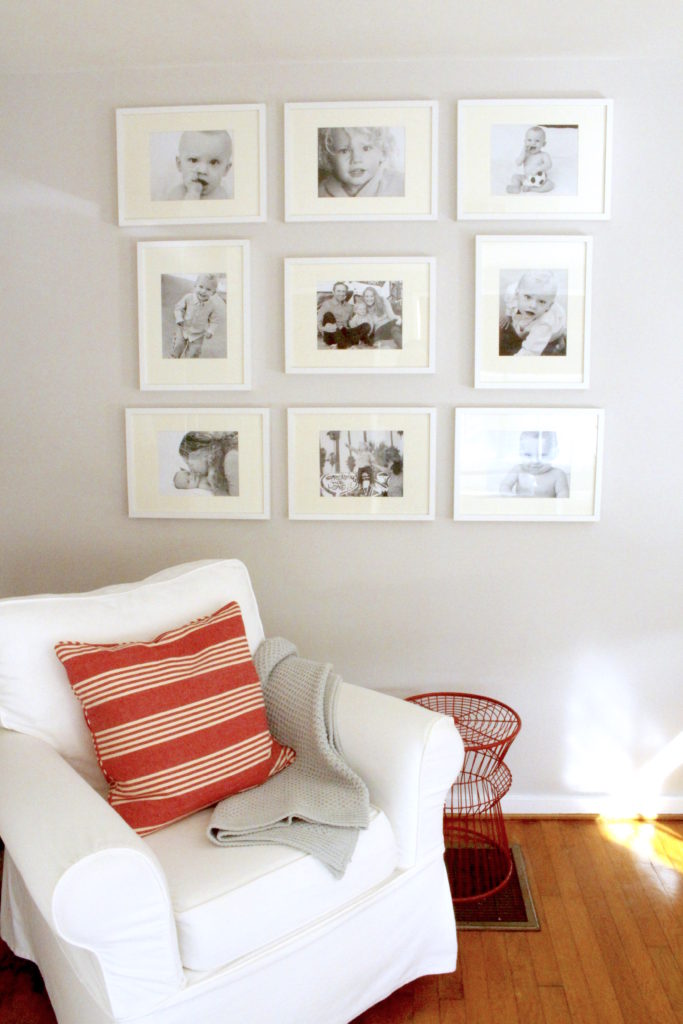
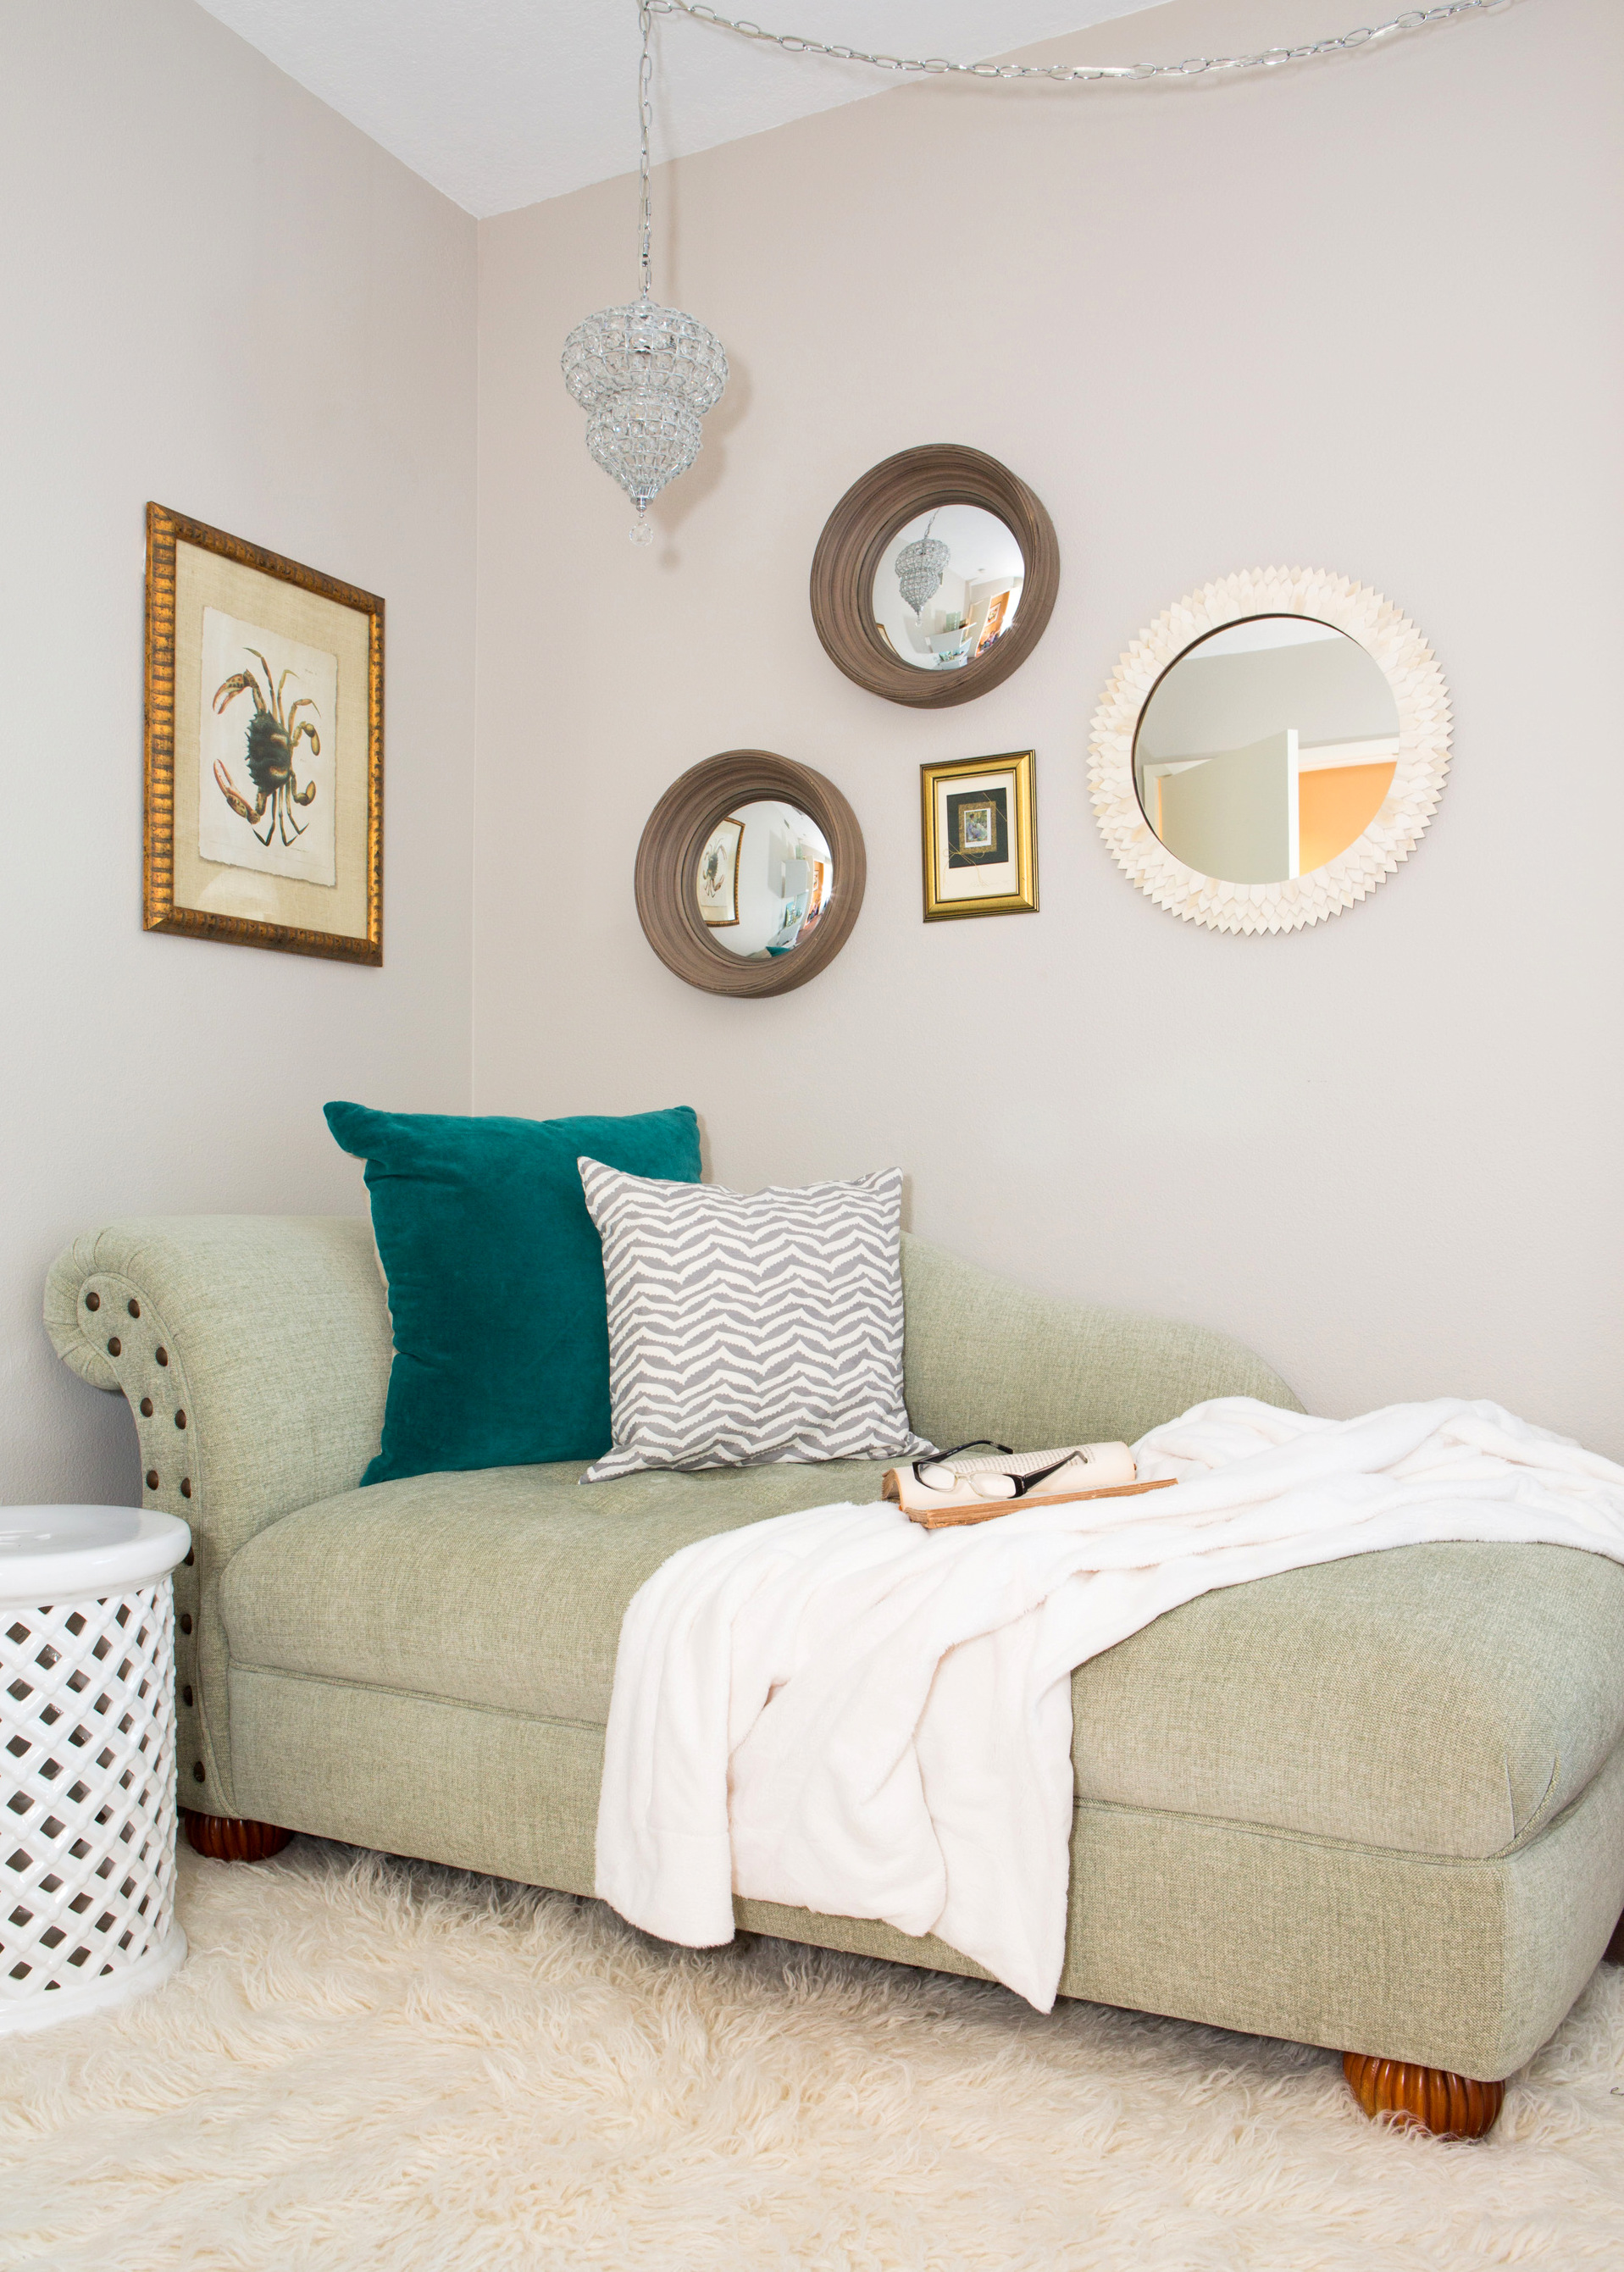
Ready to hang yours? Let’s do this!
My trick is to take all of the art that I want to place on the wall and I lay it out on the floor first before it goes on the wall. I measured my wall space then placed a measuring tape on the floor as a guideline to choose the layout of my art pieces.
I will place that piece first and then “build” the others around it. Having first planned it out on the floor, it makes it easy to hang the others around that initially placed work of art.
Starting with the first piece….which one to choose?
Decide where you want the first piece of art to hang. I usually choose a piece I want in the center, or in this case near my chair, since that was a very specific space that I wanted to fill.
- Place the piece where you think it will work best.
- Make a very light mark on the wall at the top of the frame and one end.
- Measure from the top of the frame to the picture hanging wire to find out exactly where the art will hang.
- Measure across the frame to find the center of the art work. Mark the center on the wall at your original top of the frame mark.
- With a level, line up at the top of the height and center marks, making sure the bubble is exactly in the center, and measure down to where the picture wire will be. This is now your new mark where the hook will go in the wall.
- PRO TIP: Make sure to use the proper size hook for your painting – that the hook can bear the weight of the item you are hanging.
- Hang the art. Use a level to make sure it is perfect-o. Voila!
Get my favorite hooks at these links! OOK hooks | Ikea Hooks
Spacing is Important
One of the keys is not making your art wall look like wall tiles. You don’t want every piece of art the same size as every other or every piece lined up with each other, BUT you do want to have similar amounts of “white space” between works of art.
It’s not that hard to do. You got this!
Did you love this tutorial and video? There are multiple ways to make sure you never miss my content.
- Join my email list!
- Follow me on Facebook & be sure to click so you get notifications of posts to my page.
- Subscribe to my YouTube channel!
Until next time…

PS. If you want some help choosing pieces for your art wall or laying it out, or any other remodeling or decorating advice, don’t hesitate to book a coaching session with me! I’ll help you DIY your project like a pro!
PSS. Some of the links in this blog are affiliate links. They sort of work as a virtual tip jar for the tip! {{see what I did there. wink.}}

